

Pull out drawers can completely change how you use your kitchen cabinets, and the good news is you do not need to hire a carpenter to get them. Diy pull out drawers for kitchen cabinets are one of those weekend projects that give you a huge return for a pretty small investment of time and money.
If you have ever crouched down and dug through the back of a lower cabinet looking for that one pot lid, you already know why this project is worth doing.
I started looking into this after getting tired of pulling everything out of my cabinet just to reach a mixing bowl at the back. Turns out most base cabinets are already built to accept a slide out tray; you just need the right hardware and a little patience.
Why bother building your own
Buying pre made pull out shelves from a home improvement store is an option, but they are often not sized right for your cabinet, and the cheaper ones tend to feel flimsy once loaded with heavy cookware. Building your own means you get drawers that fit your exact cabinet opening, and you can choose plywood thickness and slide hardware based on how much weight you plan to store.
There is also a cost angle. A basic diy pull out drawer might cost you between 15 and 30 dollars in materials for a single cabinet, while a comparable pre made unit can run 40 dollars or more, and that is before you deal with the sizing issues.
What you will need
- Plywood, 1/2 inch or 3/4 inch depending on the load
- Full extension drawer slides (soft close if you want the quiet option)
- Wood glue and screws
- A measuring tape and a square
- A jigsaw or circular saw
- Sandpaper or a sander
- Optional edge banding if you want a finished look on the plywood edges
Measuring your cabinet
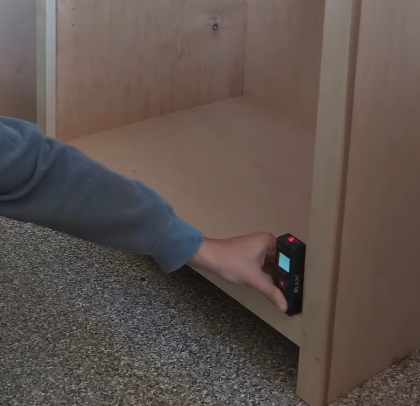
This is the step people rush and then regret. Measure the interior width of your cabinet at the narrowest point, since face frames or hinges can pinch the opening. Subtract about one inch total for the slide hardware, half an inch on each side, though this varies slightly by slide brand, so check the packaging.
Measure the depth from the front of the cabinet opening to the back wall, and subtract an inch or so to leave room for the slide mechanism and to avoid the drawer jamming into the back.
Building the drawer box
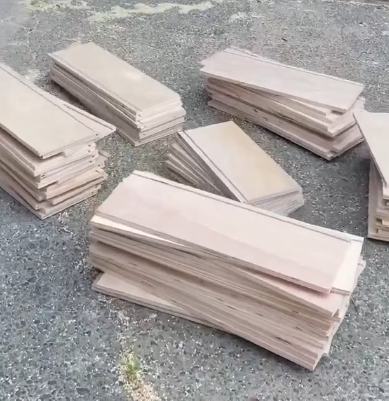
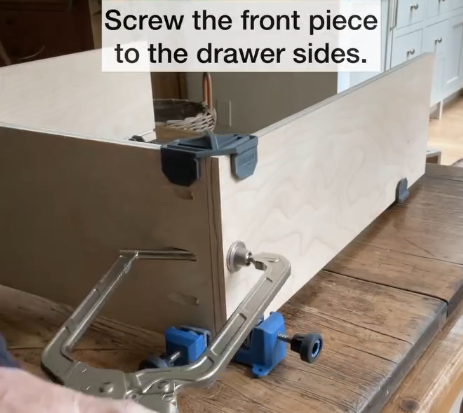
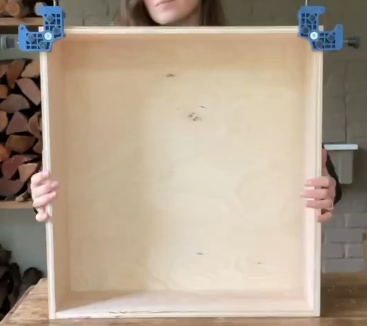
A simple drawer box is really just four sides and a bottom, held together with glue and screws. You do not need fancy joinery for this. Cut your plywood pieces to size, glue and screw the sides together, then attach the bottom. Sand any rough edges so you are not snagging dish towels every time you open it.
If your cabinet has a face frame, you will typically need a spacer or riser strip attached to the cabinet wall so the slide clears the frame. Skipping this step is a common reason people end up with drawers that will not open all the way.
Installing the slides
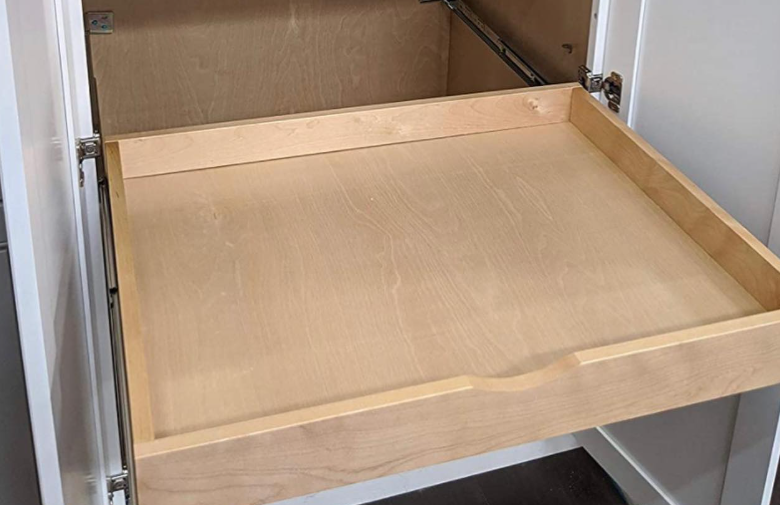
Mount one half of the slide to the drawer box, keeping it flush with the bottom edge and square to the front. Mount the other half inside the cabinet at the same height. Most slides have a bit of adjustment built in, so do not panic if it is not perfectly level on the first try; just loosen the screws slightly and nudge it.
Once both sides are on, slide the drawer in and test it a few times before you load anything heavy into it. Adjust as needed, then tighten everything down for good.
A few tips from experience
Label your measurements as you go, especially if you are doing multiple cabinets, because it is easy to mix up which spacer goes where. Also, buy your slides before you cut your plywood, since slide thickness varies and it affects your final width calculation.
And if your cabinets are older, check for square corners before you assume standard measurements will work; plenty of older kitchens have cabinets that are slightly out of square.
Painting or sealing the plywood before installation is worth the extra hour, since it is much harder to reach every surface once the drawer is mounted and full of pots.
Is it really worth the effort?
For most kitchens, yes. Lower cabinets are notoriously inefficient storage space, and pull out drawers turn that wasted depth into something you can actually see and use. Even a single cabinet converted to pull out storage tends to be the one people say they wish they had done years ago.
Frequently asked questions
Do I need special tools to build pull out drawers myself?
Not really. A saw to cut plywood, a drill or driver, and basic measuring tools will get you through most cabinet sizes. A table saw makes cleaner cuts, but a circular saw or jigsaw works fine for a home project.
What weight can a diy pull out drawer hold?
That depends mostly on your slide hardware. Standard full extension slides are commonly rated for 75 to 100 pounds, which is plenty for pots, pans, and pantry items. Just make sure your drawer box construction matches that load with solid joints and a supported bottom.
Can I add pull out drawers to any kitchen cabinet?
Most standard base cabinets can be converted, but very shallow cabinets or ones with unusual internal bracing might need some creative adjustments. It helps to check for obstructions like center stiles or plumbing before planning your cuts.
How long does this project usually take?
For one cabinet, expect two to three hours once you already have your materials and hardware. Building several drawers in a batch goes faster per unit since you are repeating the same cuts and steps.
Is plywood better than solid wood for this project?
Plywood is generally the better choice here because it resists warping and is more stable under weight. Solid wood looks nicer but can shift over time, which is not ideal for something that slides in and out daily.
Thanks for taking the time to read this guide! We hope it helped answer your questions. If there is anything you would like to add or ask, feel free to leave a comment below. You can also explore more helpful articles on our website.

I’m Alex, the voice behind Saw Mentor. With years of real, hands-on experience in the tools industry, I’ve learned one thing: the right tool makes all the difference.
At Saw Mentor, I share straightforward advice, honest reviews, and practical insights to help you make smarter decisions without the guesswork.