

If you have ever stood in your kitchen or garage wishing for just a little more storage, learning how to build and hang DIY wall cabinets might be the project that finally solves it.
It sounds intimidating at first, like something only a professional carpenter could pull off, but honestly, with the right plan and a little patience, most people can build a solid cabinet box and get it securely on the wall in a weekend.
The trick isn’t fancy tools. It’s understanding a few basic steps and not skipping the ones that matter, like finding your studs and getting the box square.
How to Build & Hang DIY Wall Cabinets and Why Build Your Own Instead of Buying
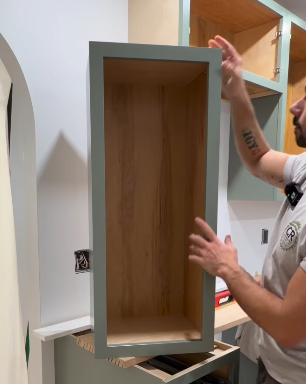
Store bought cabinets are convenient, sure, but they rarely fit a space perfectly, and the good ones cost a small fortune. When you build your own, you get to decide the exact width, depth, and height that works for your wall.
Got an awkward nook next to a window? You can size the cabinet to fill it instead of leaving a gap or cutting a corner off a cabinet that wasn’t made for that spot. There’s also a satisfaction in it. Every time you open that cabinet door, you know you made the thing.
Tools and Materials You’ll Actually Need
You don’t need a full workshop for this. Here’s a realistic list:
Plywood or MDF for the box (3/4 inch is standard for sides and shelves); 1/4 inch plywood for the back panel; wood glue and finish nails or pocket screws; a circular saw or table saw, plus a jigsaw for any cutouts; a drill with drivers and a stud finder; a level, tape measure, and pencil; cabinet hinges, handles, and a French cleat or heavy duty mounting screws; wood filler, sandpaper, and paint or stain if you want a finished look
If you don’t own a table saw, many home improvement stores will make straight cuts on plywood sheets for a small fee or even free. That alone can save you a lot of setup time.
Step 1: Plan the Size and Layout
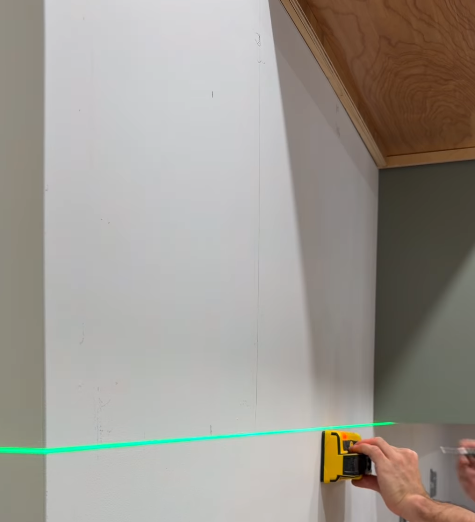
Measure the space where the cabinet will hang, then subtract a little room on each side so you’re not forcing a tight fit. Sketch it out on paper, even roughly, with the dimensions of the box, the shelf placement, and where the doors will sit.
Think about what’s going inside too. Tall items like cereal boxes or cleaning supplies need more vertical room, while dishes and cans do better with closer shelf spacing.
Step 2: Cut Your Panels
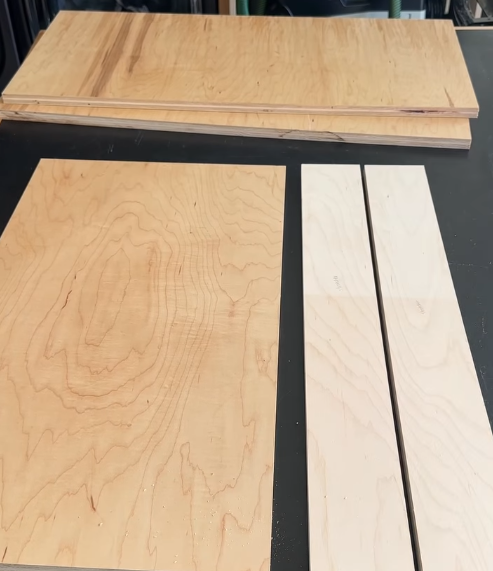
Once you know your dimensions, cut the top, bottom, two sides, and any shelves from your 3/4 inch plywood. Cut the thin back panel from the 1/4 inch sheet. Label each piece with tape and a pencil as you go so you don’t mix them up later, especially if several pieces are close in size.
Step 3: Assemble the Box
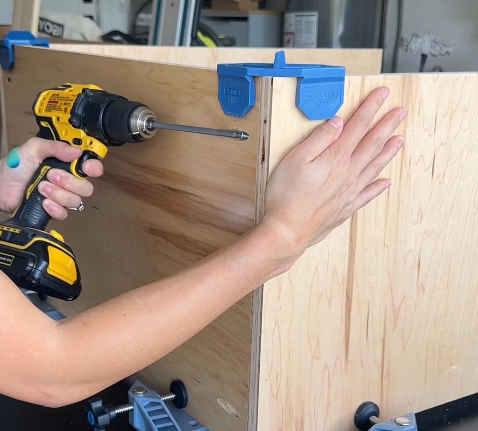
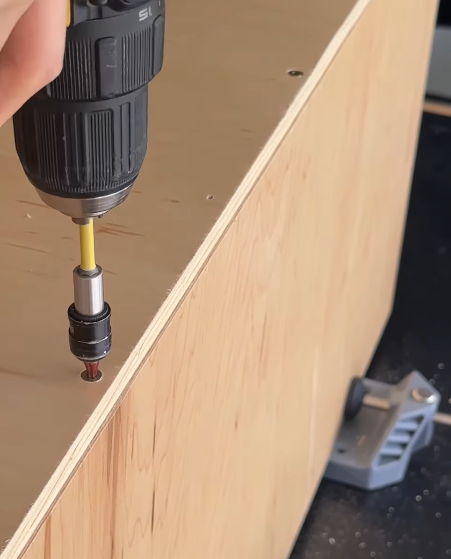
Lay the side panels down and attach the top and bottom using wood glue plus screws or nails. Pocket hole screws work great here if you have a jig, since they hide the fasteners and pull the joints tight.
Square the box up before the glue sets by measuring corner to corner. If both diagonal measurements match, your box is square. Slide the back panel into place and nail it down, which also helps lock the whole frame square permanently.
Step 4: Add Shelves and Doors
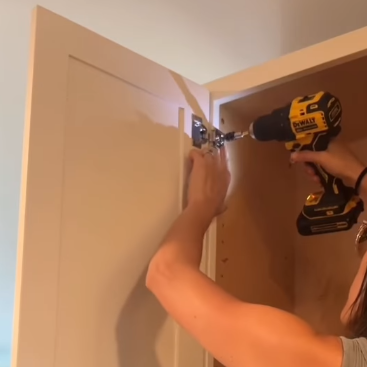
Install shelf pins or cleats at your marked heights and slide the shelves in. For doors, decide between overlay hinges, which sit on top of the cabinet frame, or inset hinges, which sit flush within it. Overlay hinges are more forgiving for a first timer since they hide small measurement errors better. Attach the hinges to the door first, then hold the door in place to mark and drill the cabinet side.
Step 5: Sand, Finish, and Paint
Fill any nail holes with wood filler, let it dry, then sand everything smooth starting with a coarser grit and moving to something finer. Wipe away the dust with a damp cloth before you paint or stain, otherwise you’ll trap grit in the finish. Two thin coats of paint usually look better than one thick one, and they dry faster too.
Step 6: Find and Mark Your Studs
This step matters more than almost anything else in the whole project. Use a stud finder to locate the wall studs where the cabinet will hang, then mark their centers lightly with a pencil. Cabinets loaded with dishes or tools are heavy, and drywall anchors alone generally can’t support that kind of weight long term.
If your studs don’t line up conveniently with your cabinet’s mounting points, you may need to add a cleat inside the cabinet that spans wider to catch two studs.
Step 7: Hang the Cabinet
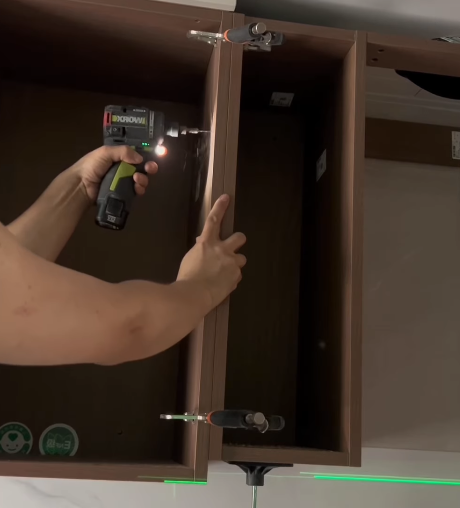
The easiest and most reliable method for most DIYers is a French cleat. You attach one angled cleat to the back of the cabinet and a matching one to the wall, screwed directly into the studs. The cabinet then simply hooks onto the wall cleat, which spreads the weight evenly and makes it easy to lift the cabinet off later if needed.
If you’re mounting directly through the back panel instead, use long screws driven into the studs, and always have a helper hold the cabinet level while you drive them in. A level really is your best friend during this whole step, since even a slightly crooked cabinet becomes obvious the moment you set something on the shelf.
A Few Tips That Make a Real Difference
Dry fit everything before you glue anything permanently, since plywood doesn’t forgive mistakes easily. Predrill your screw holes near the edges of plywood to avoid splitting. Paint or finish the inside of the cabinet before installing shelves; it’s much easier than working around them later Double check your level in both directions, side to side and front to back, not just one
Frequently Asked Questions
How much weight can a DIY wall cabinet hold?
It depends heavily on how it’s mounted. A cabinet properly anchored into wall studs with a French cleat or long screws can typically hold well over 100 pounds spread across shelves. One that’s only attached with drywall anchors should be treated as much more limited, often under 20 or 30 pounds total.
Do I need special tools to hang a cabinet without hitting studs?
If your studs genuinely don’t line up with your cabinet, heavy duty toggle anchors rated for the specific weight you expect can work, but they’re a backup plan rather than a first choice. Whenever possible, plan your cabinet’s mounting points around the studs you find, not the other way around.
What’s the easiest wood to work with for a first cabinet project?
Plywood is usually the friendliest choice for beginners since it’s stable, doesn’t warp much, and takes screws well. MDF is smooth and paints beautifully, but it’s heavier and doesn’t hold screws quite as securely near the edges.
How long does it typically take to build and hang a cabinet?
For someone doing this the first time, expect a full weekend: roughly one day for building the box and attaching doors, and another for finishing and hanging it. Drying time for paint or stain often stretches this out a bit more than people expect.
Can I skip the back panel to save time?
You can, but it’s not a great idea. The back panel does more than close up the box; it also keeps the whole frame from racking side to side over time. If you really want to skip it, at minimum add a diagonal brace somewhere in the frame for rigidity.
Thanks for taking the time to read this guide! We hope it helped answer your questions. If there is anything you would like to add or ask, feel free to leave a comment below. You can also explore more helpful articles on our website.

I’m Alex, the voice behind Saw Mentor. With years of real, hands-on experience in the tools industry, I’ve learned one thing: the right tool makes all the difference.
At Saw Mentor, I share straightforward advice, honest reviews, and practical insights to help you make smarter decisions without the guesswork.