

If you have ever priced out custom cabinetry and nearly choked on the quote, you already know why so many people turn to plywood wall cabinets as a do it yourself project instead. Plywood is stable, affordable, and forgiving enough for someone with basic tools to turn out a cabinet that looks like it came from a proper shop.
You do not need a fully equipped woodworking studio or years of experience. What you need is a good plan, the right sheet goods, and a bit of patience while the glue dries.
I have built more than a few of these over the years, for kitchens, laundry rooms, garages, and even a home office that needed extra storage. Every time, the process comes down to the same handful of steps.
Once you understand the logic behind it, building your own set of cabinets stops feeling intimidating and starts feeling like something you can knock out over a weekend.
Why Plywood Works So Well for Wall Cabinets
Solid wood looks beautiful, but it moves with humidity, and that movement can cause doors to stick or panels to crack over time. Plywood does not have that problem nearly as much because of the way its layers are glued in alternating grain directions.
That cross grain construction gives you a panel that stays flat and holds screws far better than particleboard ever will.
Baltic birch or cabinet grade plywood is usually the top choice for anything that will be visible, since it has a smoother face and fewer voids along the edges. For hidden structural parts, a lower grade sheet can save you some money without hurting the final result.
The Easiest Way to Build Plywood Wall Cabinets: Tools and Materials You Will Actually Need
You do not need a massive collection of equipment for this project. A track saw, or a circular saw with a straight edge guide, will handle your sheet breakdown just fine, and a table saw is a bonus if you already own one. Beyond that, a drill driver, a pocket hole jig, wood glue, cabinet grade screws, and some edge banding for the plywood edges will cover most of what you need.
Measuring tools matter more than people expect. A good square, a tape measure, and a marking gauge will save you from the kind of small errors that add up into a cabinet that will not sit flush against the wall.
Step 1: Plan Your Dimensions First
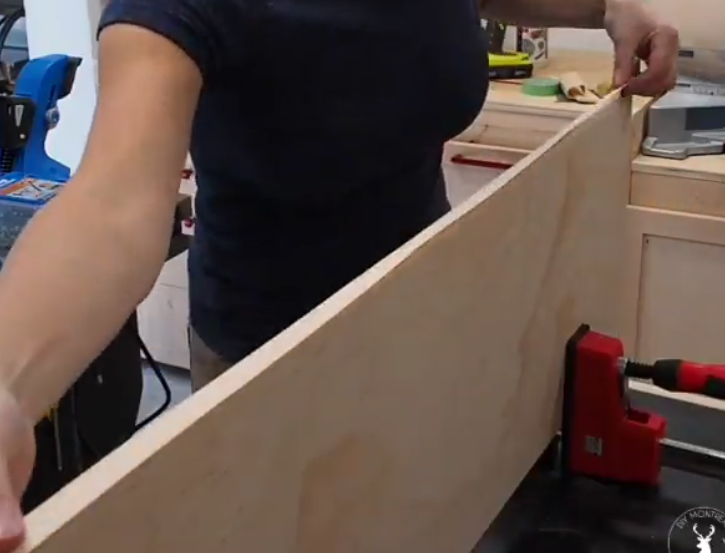
Before any cutting happens, figure out exactly how tall, wide, and deep your cabinets need to be. Standard wall cabinets usually sit around 12 to 14 inches deep and are often 30 to 42 inches tall, but your kitchen or utility room might call for something different. Sketch it out, even if it is a rough drawing on paper, so you know your cut list before you touch a sheet of plywood.
Step 2: Break Down Your Plywood Sheets
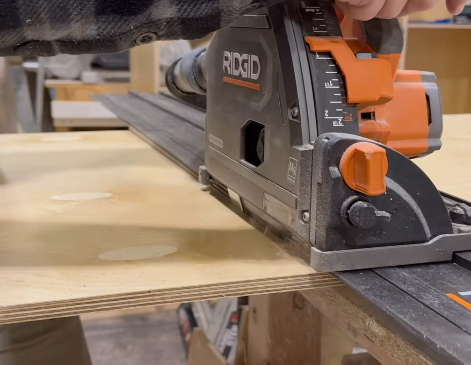
Full sheets of plywood are heavy and awkward, so plan your cuts to break the sheet into manageable pieces early. Cut your sides, top, bottom, and back panel first, then move on to shelves and face frame pieces if you are using one.
A frameless design, sometimes called European style, skips the face frame entirely and relies on edge banding for a clean look, which many first time builders find easier to manage.
Step 3: Assemble the Cabinet Box
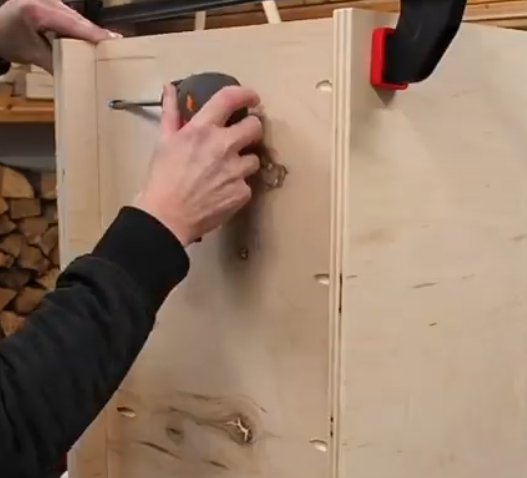
Pocket hole joinery is probably the friendliest option for a beginner because it lets you join panels quickly without fancy joints like dovetails or dados, though a dado joint does add strength if you are comfortable cutting one.
Glue and clamp your sides to the top and bottom, check that everything is square with a framing square before the glue sets, then attach the back panel to lock the whole thing into shape.
Step 4: Add Shelves and Face Details
Adjustable shelf pins let you customize shelf height later, which is worth the small extra effort during drilling. If you want a face frame, attach it now with glue and pocket screws, keeping everything flush along the front edge. Sand any rough spots and cover exposed plywood edges with iron on edge banding for a finished appearance.
Step 5: Hang the Cabinet on the Wall
This step trips up a lot of first timers, so take your time here. Locate your wall studs, mark them clearly, and use a French cleat or heavy duty cabinet hanging brackets rated for the weight of a fully loaded cabinet.
Screw directly into studs whenever possible, and if you must anchor into drywall alone, use hardware rated for the load since a wall cabinet full of dishes or tools is heavier than most people assume.
A Few Tips That Make a Real Difference
Working with a friend during the hanging stage makes life much easier since holding a cabinet level while driving screws is nearly impossible alone. Prefinishing your plywood pieces before assembly also saves a lot of awkward brushwork later, since painting or staining flat panels is far simpler than reaching into corners after the box is built.
Finally, double check every measurement against the actual wall space rather than trusting the numbers on your original sketch, because walls are rarely as square as we would like them to be.
Frequently Asked Questions
What is the best plywood thickness for wall cabinets?
Three quarter inch plywood is the standard choice for cabinet sides, tops, and bottoms because it holds screws well and resists sagging. Thinner plywood, around half inch, works fine for the back panel since it does not carry as much structural load.
Do I need a table saw to build plywood cabinets?
Not at all. A circular saw paired with a straight edge guide, or a track saw, can produce cuts accurate enough for cabinet work. Many hobbyists build entire kitchens using nothing more than a circular saw and careful measuring.
How do I hide plywood edges without buying a fancy edge bander?
Iron on veneer edge banding is inexpensive and simple to apply with a household clothes iron and a sharp utility knife for trimming. It gives plywood edges a clean, finished look without needing specialized equipment.
Is pocket hole joinery strong enough for cabinets that will hold weight?
Yes, pocket screws combined with wood glue create joints that are plenty strong for typical cabinet loads, especially when the cabinet is also secured to wall studs. Many production cabinet shops use pocket screws for exactly this reason.
How do I make sure a wall cabinet is safely secured?
Always locate and screw into wall studs rather than relying on drywall anchors alone whenever possible. If a cabinet spans between studs, use a French cleat system or brackets rated for the total weight the cabinet will carry once loaded.
Thanks for taking the time to read this guide! We hope it helped answer your questions. If there is anything you would like to add or ask, feel free to leave a comment below. You can also explore more helpful articles on our website.

I’m Alex, the voice behind Saw Mentor. With years of real, hands-on experience in the tools industry, I’ve learned one thing: the right tool makes all the difference.
At Saw Mentor, I share straightforward advice, honest reviews, and practical insights to help you make smarter decisions without the guesswork.
1 thought on “The Easiest Way to Build Plywood Wall Cabinets”