
I will be honest, the first time I tried trimming the overgrown shrub in my backyard, I grabbed whatever I could find in the garage, hacked away at it, and called it a day. The shrub looked terrible for two seasons after that. Ragged cuts, a branch that died back halfway down, the works.
Since then, I’ve learned a lot, mostly through mistakes, about how to actually cut small branches properly. It’s one of those things that looks simple until you realize there’s a right and a wrong way to do it.
Here’s everything I wish someone had told me earlier.
First, Know What You’re Working With
Not all “small branches” are the same. There’s a big difference between a pencil-thin water sprout and a thumb-thick woody branch that’s been growing for three years. The approach and the tool change depending on that.
Generally speaking:
- Under ½ inch thick → hand pruners (bypass or anvil type)
- ½ inch to 1.5 inches → loppers
- 1.5 inches to about 2–3 inches → a pruning saw
If you’re forcing a tool to do more than it’s designed for, you’re going to crush the wood instead of cutting it cleanly, and that’s where disease and dieback start.
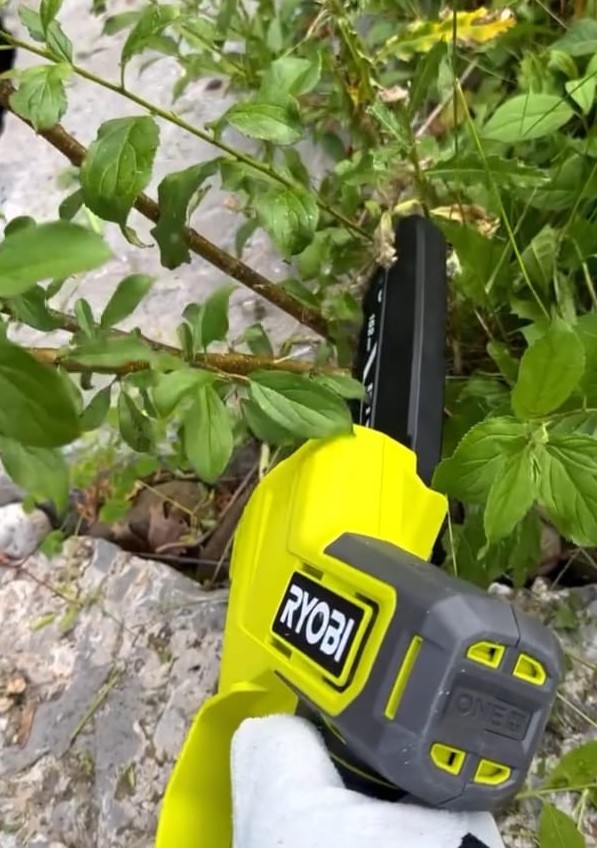
The Tools That Actually Matter
You don’t need a shed full of equipment. For most home gardeners, three tools cover almost everything:
Bypass pruners are my go-to for anything I can handle with one hand. They work like scissors, two blades that pass each other, and they leave a much cleaner cut than anvil-style pruners, which can bruise soft stems.
Loppers are basically long-handled pruners. The extra leverage makes a huge difference on thicker branches, and your wrists will thank you.
A folding pruning saw for anything stubborn. Don’t use a regular handsaw. Pruning saws are designed to cut on the pull stroke and handle green wood without binding.
One thing I’ll stress: keep them sharp. A dull blade tears instead of cutting. I run a basic sharpening stone over my pruners every spring, and it makes everything easier.
When to Cut (Timing Actually Matters)
Most people trim whenever something annoys them, which is understandable, but timing does affect how well the tree or shrub recovers.
Late winter or early spring, just before new growth kicks in, is ideal for most trees and shrubs. The plant is about to push energy into healing, so cuts close up faster.
Summer works fine for light tidying, removing dead wood, crossing branches, anything that’s clearly in the way. Just avoid heavy cutting in the peak of summer heat.
Fall is when I’d be most cautious. Pruning stimulates new growth, and tender new shoots right before frost can set a plant back.
Dead or damaged branches? Cut those anytime. No need to wait.
How to Actually Make the Cut
This is where most people go wrong, and it’s worth slowing down on.
Find the Branch Collar
Before you cut, look at where the branch meets the trunk or larger branch it grows from. You’ll notice a slight swelling or wrinkled ring of bark at the base that’s the branch collar. This tissue is what seals the wound after you cut.
Never cut into the collar. And don’t leave a long stub sticking out either; stubs die back and become entry points for rot and pests.
Cut just outside the collar, angling slightly away from the trunk. That’s it. That one habit alone will improve the health of every tree and shrub you own.
The Three-Cut Method for Heavier Branches
If a branch is thick enough to sag or tear under its own weight while you’re cutting, use three cuts instead of one:
- Undercut first: about 6 to 12 inches from the trunk, cut upward from the bottom about a third of the way through. This prevents the bark from tearing downward.
- Top cut: a few inches further out from the trunk, cut down from the top until the branch falls. You’re left with a stub.
- Final cut: now cleanly remove the stub just outside the branch collar.
Takes an extra minute, but you’ll avoid those ugly bark tears that take years to heal over.
Common Mistakes (That I’ve Made Personally)
Cutting too flush to the trunk. It seems like you’re being tidy, but you’re removing the collar tissue the plant needs to heal. Leave that little ridge alone.
Leaving stubs. A 4-inch stub isn’t going to sprout back. It’s just going to die, rot, and create a cavity. Cut the first time properly.
Using the wrong tool and forcing it. Twisting and yanking pruners on a branch that’s too thick crushes the wood. Switch to loppers or a saw.
Not cleaning your tools between plants. If one plant has a fungal issue or fire blight, you can carry it to the next one on your blades. A quick wipe with rubbing alcohol between plants is a habit worth building.
A Few Extra Tips Worth Knowing
- If a cut feels awkward or you’re stretching too far, stop and reposition. Most pruning injuries happen when people overreach.
- You generally don’t need to paint over cuts with pruning sealant. Research over the last few decades has shown that it doesn’t help and can sometimes trap moisture. Let the plant heal on its own.
- Citrus, magnolias, and a handful of other plants are sensitive to heavy pruning. If you’re unsure about a specific tree, a quick search for that species will tell you if there are any quirks.
The Short Version
Cut just outside the branch collar. Use the right tool for the size of the branch. Keep your tools sharp and clean. Time your heavier pruning for late winter if you can.
That’s honestly most of it. The rest comes with practice and occasionally, a shrub that looks terrible for a season while it recovers from your learning curve.